


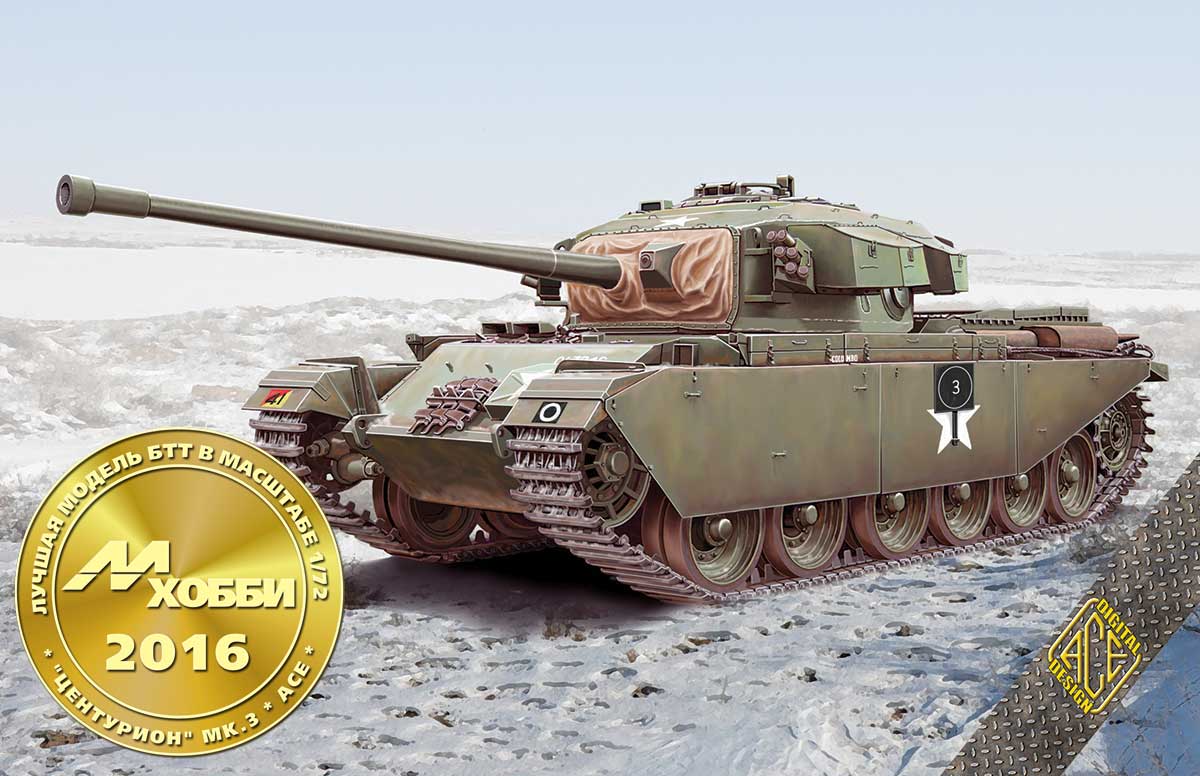
Model: British MBT Centurion Mk.3 (Korean war) |
 |
| Catalogue number | 72425 |
| Scale | 1/72 |
| Model state | Sold out |
| Weapons and equipment | Tanks |
| Period | Post WWII |
Description
Centurion Mk.3 - was the primary British main battle tank of the post-World War II period. It is widely considered to be one of the most successful post-war tank designs, remaining in production into the 1960s, and seeing combat in the front lines into the 1980s. The chassis was also adapted for several other roles, and these have remained in service to this day. Development of the tank began in 1943 and manufacture of the Centurion began in January 1945. It first entered combat with the British Army in the Korean War in 1950, in support of the UN forces. The Centurion later served in the Indo-Pakistani War of 1965, it served with the Royal Australian Armoured Corps in Vietnam. Israel used Centurions in the 1967 Six Day War, 1973 Yom Kippur War, and during the 1978 and 1982 invasions of Lebanon. Centurions modified as APC were used in Gaza, the West Bank and on the Lebanese border. It became one of the most widely used tank designs, equipping armies around the world, with some still in service until the 1990s. Between 1946 and 1962, 4,423 Centurions were produced, consisting of 13 basic marks and numerous variants. In British Army use it was replaced by the Chieftain.
Assembly recommendations from Tim Treadway:
There are a couple of places to watch out for.
First up. with so many parts in the hull something will inevitably create a fit issue. The best way to get this thing together is this sequence. Take the bottom plate B-15 and glue the two bulkheads B-18 in place and vertical. next build up the rear plate D-19. The plate has to be bent in two places and glue to it the three D-29s. Let these two assemblies kind of set up. I use MEK so the wait is not long. Take the sides E-3 and E-4 and clean them up. It helps if you remove the witness lines from all the parts. Believe it makes a difference as the tolerances are pretty tight. Now glue the sides to the bottom plates only. Do not glue them to the bulkheads at this time. Make sure you have removed the witness lines from part D-19 and glue in at this time. After you have glued all the joints reinforce them with a little tape to hold everything in place while everything sets up. If your kit is lkie mine you will see that part D-19 is going to interfere with the installation of part D-17. Clean up Part D-17 and set aside for a little while.
Clean up the hull top pieces D-20, D-18, E-12, and D-22. At this time just remove the witness lines and what little flash there is. Set aside. This clean up of parts should have let the lower hull parts set up. Back to part D-17. Using part D-17 as a guide sand the assembly involving D-19 and D-29s until part D-17 slides into the two grooves on the inside of the rear of the hull sides and locks into place and apply cement. This is pretty critical. It is the foundation the rest of the model builds upon.
Now take and clean up turret components C-5, C-6, C-20, C-22, and G-10. Once cleaned up glue them together and set aside to set up a little. You can also clean up whichever turret top your going to use and use it to line everthing up.
Now take part D-20 and offer it up to the turret assembly and see how well it all fits. Trim and sand everything until the turret revolves freely. Now we come to the next really critical part. There is a lip on the front of D-20 that is mated to a lip upon D-18. Remove the lip from D-20. No more. The first piece that is glue to the hull assembly is D-20. Then glue in D-22. This will give a good strong square assembly. Remove the lip from the rear of D-18. set aside. Using parts D-18 and E-12 remove just enough material form both until you achieve a slight friction fit and glue in place.
The turret should spin a full 360 degrees if you follow this method. I sure will follow it on my next one. The benefit of hindsight. You can use the turret to judge just how much you can remove from part D-20.
Last critical point is in attaching assemblies E the the track adjustments at the front of the lower hull. they should line up with the top edge of B-15 and the fartherest outside edge of B-15. If you dont you might end up like me installing some spacers in order to make the idlers line up with the rest of the suspension.All this took about 3 hours to make.

Inside of box


Photos of prototype
")
")
")
")
")
")
")
")
")
")
")
")
")
")
")
")
")
")
")
")
Korean War video | Tim Treadway model in progress
Assembled models
 |
Author: Viktor Krestinin Model name: Centurion Mk.3, Korea |
 |
Author: Viktor Krestinin Model name: Centurion Mk.3, Korea Description: Next to T-54. |
 |
Author: Viktor Krestinin |
 |
Author: Viktor Krestinin |
 |
Author: Viktor Krestinin Model name: Centurion Mk.3 Description: Next to T-54 |
 |
Author: Viktor Krestinin Model name: Centurion Mk.3 |
 |
Author: Viktor Krestinin |
 |
Author: Viktor Krestinin |